A Useful Guide To Using And Buying PolyGel Kits
PolyGel is a new way for you to add nail extensions
Nails | January 27, 2021
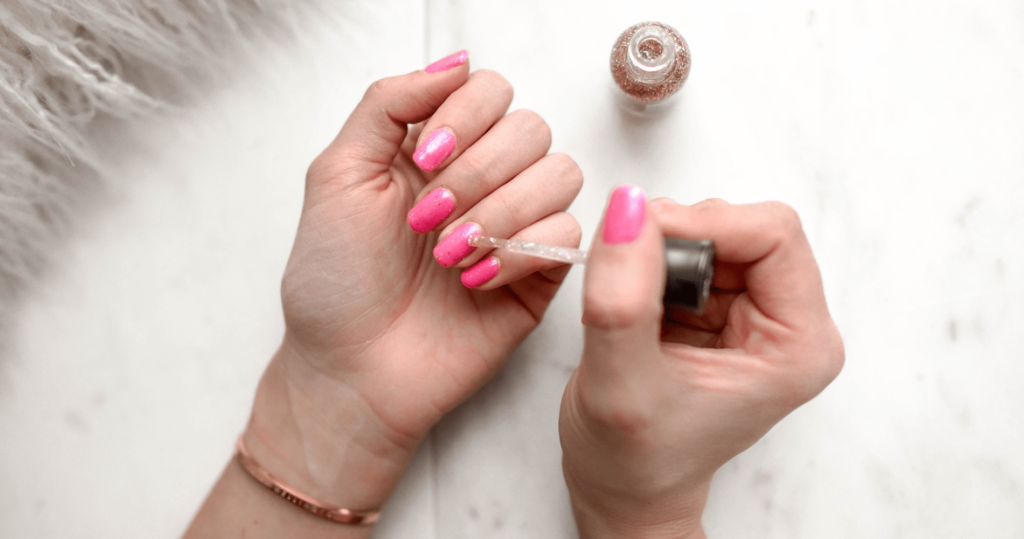
Can you believe there is something new in the market for your nails called PolyGel. When I first saw this product, I thought maybe this is the product I was looking for. It is like acrylic nails and gel nail polish, but without all the annoying aspects you have to deal with when using them.
When I was younger, I always wanted to get an acrylic set, so when I got the chance to get my nails done, I jumped on it. I was so excited to have longer nails for a change. Unfortunately, I did not enjoy the process from start to end. I did not like how the drill would burn me if the nail tech got too close to my cuticle and the strong smell of the acrylic. When everything was done I just couldn’t get used to the feeling of those thick fake nails. You can say that was just one bad experience but after that, I knew I was done with wearing acrylic nails.
Later on, gel nail polish came into the market, and honestly, I was so ready to buy everything I needed to create a beautiful gel manicure. Especially, since I was tired of having chipped nail polish after I dedicated a couple of hours to create beautiful designs on my nails for it to chip in four days. As I was getting used to doing a gel manicure came my biggest issue. The process of removing a gel manicure! This process was worse than removing glitter nail polish and my nails always felt so raw afterwards, so I couldn’t keep doing it.
So, I am definitely ready for something new for my nails, are you?

So, What is PolyGel?
If you have never seen a video of someone using PolyGel, then the best description of it is that it is a combination of gel enhancement and acrylic. The gel enhancement part of PolyGel allows it to be more flexible when you are applying it to a nail. As for the acrylic part, this helps make poly gel just as strong as acrylic. PolyGel is an enhancement that can be applied on top of your natural nails like nail polish, a tip overlay, or you can use it to sculpt a nail into any shape you want.
How Long Does PolyGel Last?
The main thing most people think about when they are getting their nails done is how long is the manicure or pedicure going to last. In other words, you want to get your money’s worth, and I can guarantee that this product is worth buying. What makes PolyGel so great is that it can last up to three weeks but like most things, this depends on how well you take care of your manicure. Overall 3 weeks is definitely worth the cost of buying a PolyGel kit or getting them done at a nail salon.
So, are you ready to learn how to use PolyGel?
PolyGel Step by Step Process
1. Prep Your Nails
Nail prep for PolyGel is the same as prepping for gel nail polish. All you need to do is clean, file, and buff to make sure there is no shine or old nail polish on the nails. After that, add a base coat and cure your nails for 30-60 seconds.
2. Create Your Nail Shape
At this step, you should know which of the three ways you will be applying the PolyGel (dual form, paper form, or overlay).
No matter which method you choose, all three methods will start with applying a small bead to the bottom of the nail and dip the brush in slip solution or isopropyl alcohol to moisten the brush and smooth out the small bead. After that, this step will be different depending on if you are choosing to use dual nail forms, paper forms, or doing an overlay. If you are using or doing a:
Dual Form: You want the PolyGel to cover the dual form completely up to your chosen length. Now, gently press in the dual mold but don’t push so hard that you push all the PolyGel out. Now, clean up any access around the nail or underneath the nail using the slip solution. The forms might not fit your nail perfectly all the time so you might have to do some patch-up work.
Paper Form: You are choosing to use the brush to sculpt a nail and the form to add length. You will be bouncing from steps 2 and 3 until you have your desired shape.
Overlay: Just completely cover your nail with the PolyGel.
3. Cure the Nail
Once the PolyGel is placed you will put your hand under an LED or UV lamp for about 30-60 seconds. At this point, you could be repeating steps 2-4 if there is a certain style or color you want to create.
4. File and Shape the Nail
You can use an electric file to file and shape your nails, but with PolyGel you only need a regular hand file with a 100/180 grit to get the job done.
5. Finish with a Top Coat
It is time to give your nails a beautiful shine, but before you do that make sure you buff the surface. Here you are sealing in the PolyGel by putting your nails under a nail lamp to cure again. Now, your nails are done!
6. Moisturize With Cuticle oil and lotion
To give your nails and hand an extra finishing touch you should moisturize your hands and cuticles. So, apply some cuticle oil to the base of each nail and moisturize your hands with a hydrating lotion and now you are ready to show off your nails.
How to Remove PolyGel
After about 3 weeks or less, you are probably ready to remove your PolyGel manicure. All you have to do is:
- File the polygel until you are left with a thin layer (you can use a drill to speed up the process)
- Soak your nails with acetone for 20 minutes
- Scrape the excess polygel away
- Buff and file your nails
- Moisturize

What Are the Upsides and Downsides to Using PolyGel?
Upsides to PolyGel
- You have more time and space to sculpt a structured nail because it doesn’t set until it is cured
- You can use it as a overlay on your natural nails to create a natural look
- Shaping around the cuticle is easier
- Lasts for up to 3 weeks
- Great for people with short nail that want to try long nails
- It is as strong as acrylic and not as harsh on your natural nails
- Removal is not time consuming or difficult
- Shouldn’t leave a tacky layer on your nails
- It is lighter than gel and acrylic nails
- Has no active ingredients
- Has a light pleasant smell
- No heat spikes while curing
Downsides to PolyGel
- Not many nail artist know how to use it
- It is not self-leveling
If you are convinced that Polygel is awesome and you want to try it yourself at home then here are some great kits to try to help get you started.
5 Best PolyGel Kits to Buy
Before you make your decision you should know:
- Some kits don’t come with an LED or UV lamp
- Some have limited color options, but you can use regular nail polish or gel nail polish on top
- A few might not come with a slip solution
Overall, these PolyGel kits are a great buy for your money considering that they come with almost everything you need to get started. So, when it comes to picking a starter kit you want to make sure the kit has a UV/LED lamp that is at least 36 watts(w). As for a slip solution you can use alcohol and you don’t need paper forms especially if you are a beginner. Overall these kits are easy to use so it is great for beginners who want to practice and perfect the craft and not spend too much money.
I have use Modelones Poly Extension Gel Nail Kit and I posted a more detailed review about my experience.
1. Modelones Poly Extension Gel Nail Kit
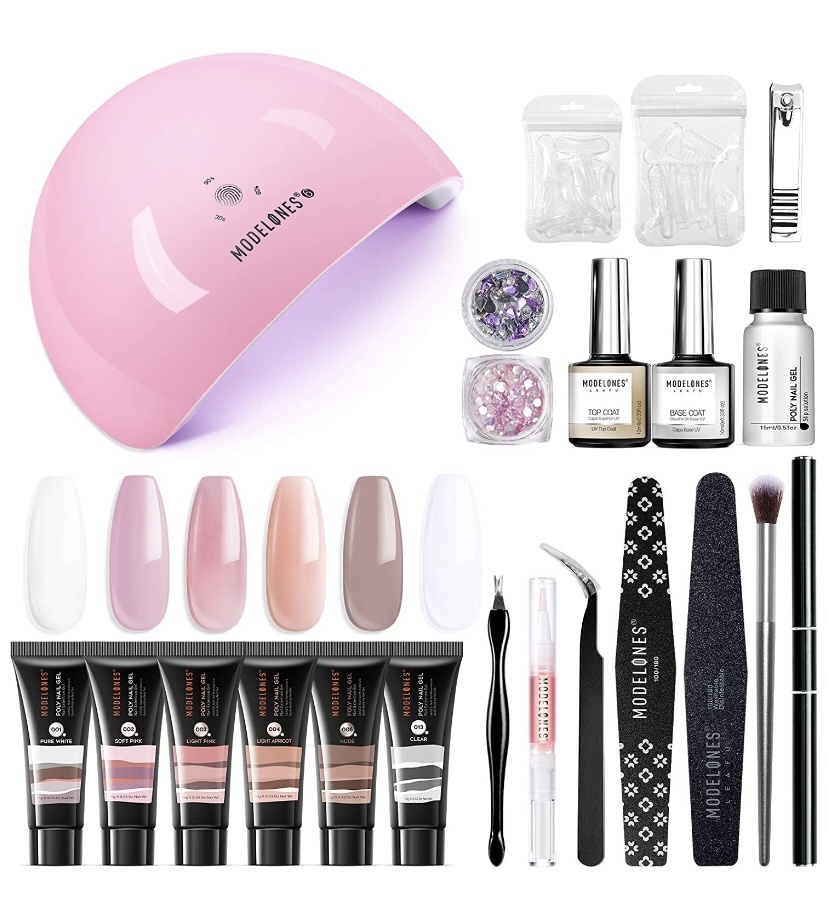
What’s inside:
- 48W UV LED Nail Lamp
- 6 Colors
- 10ml Base/Top Coat
- Slip Solution
- Nail Cutter
- Glitter and Gems
- Cuticle Fork and Oil
- Dual Forms
- Nail Tweezer, File, and Buffer
- Dust Brush Pin
- Brush and Spatula
What’s missing:
- Paper Forms
2. Gershion Poly Gel Nail Kit
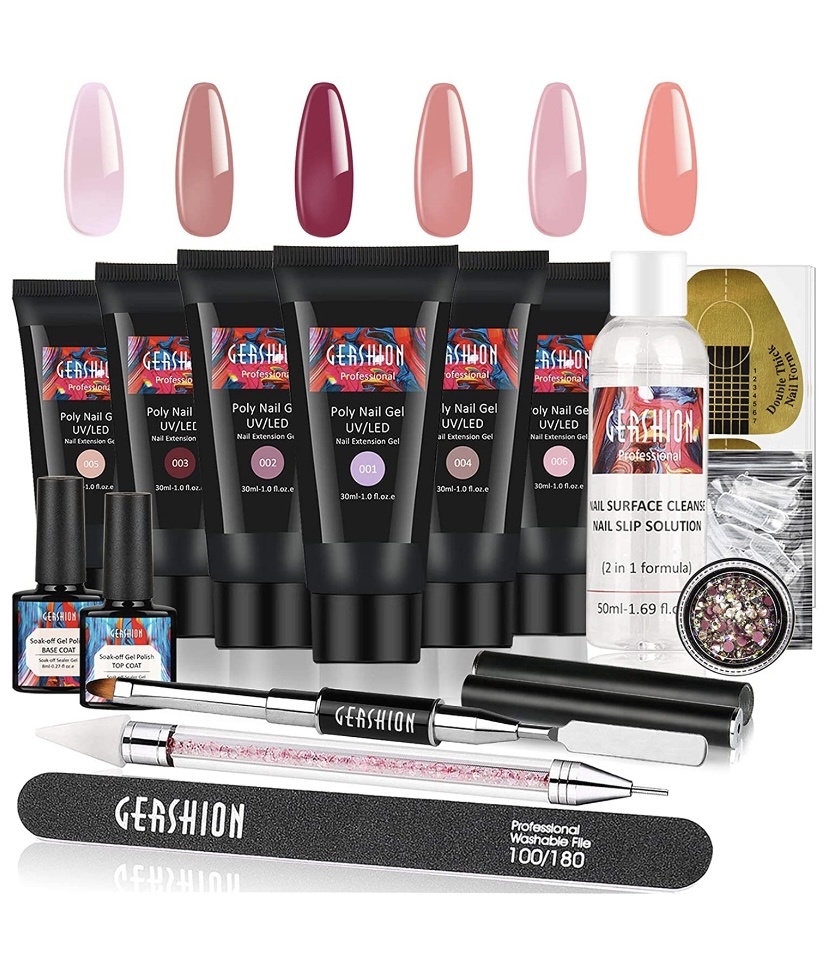
What’s inside:
- 6 Colors
- Paper Forms
- Dual Forms
- Nail File
- Brush and Spatula
- 8ml Base/Top Coat
What’s missing:
- UV/LED Lamp
- Slip Solution
3. Morovan Poly Nail Gel Kit
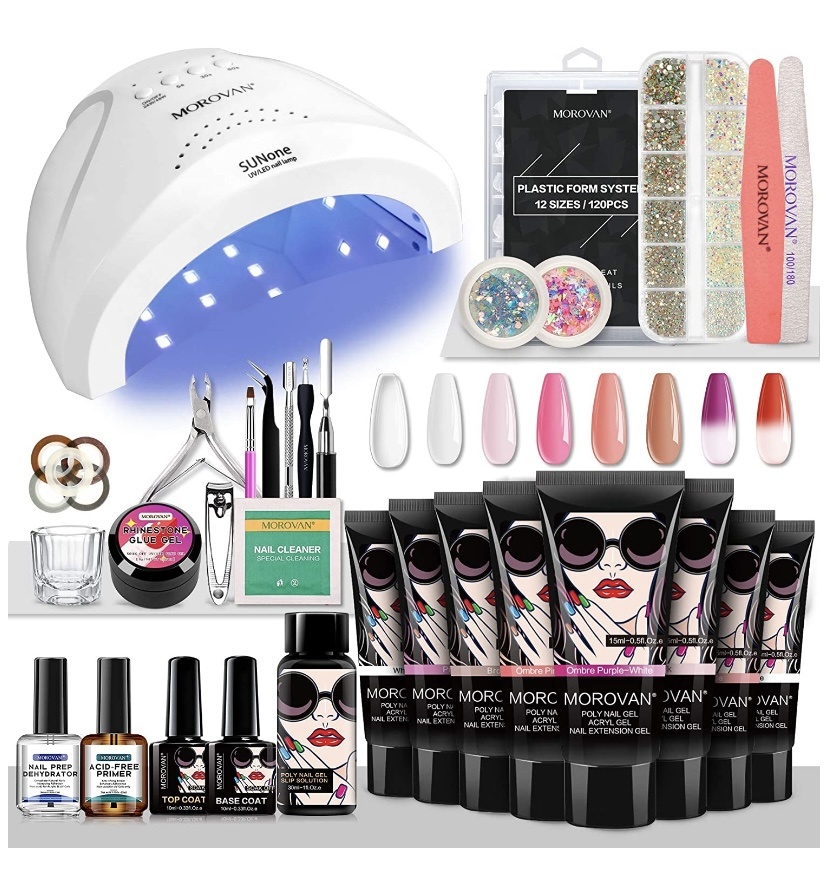
What’s inside:
- 48W UV LED Nail Lamp
- 8 Colors
- Dual Forms
- Nail Prep and Primer
- Slip Solution
- Glue
- Nail Cleaner, Tweezer, File, Art pen, Clipper and Buffer
- Glitter and Gems
- Cuticle Fork
- Brush and Spatula
- Base/Top Coat
What’s missing:
- Paper Forms
4. Beetles Poly Extension Gel Nail Kit
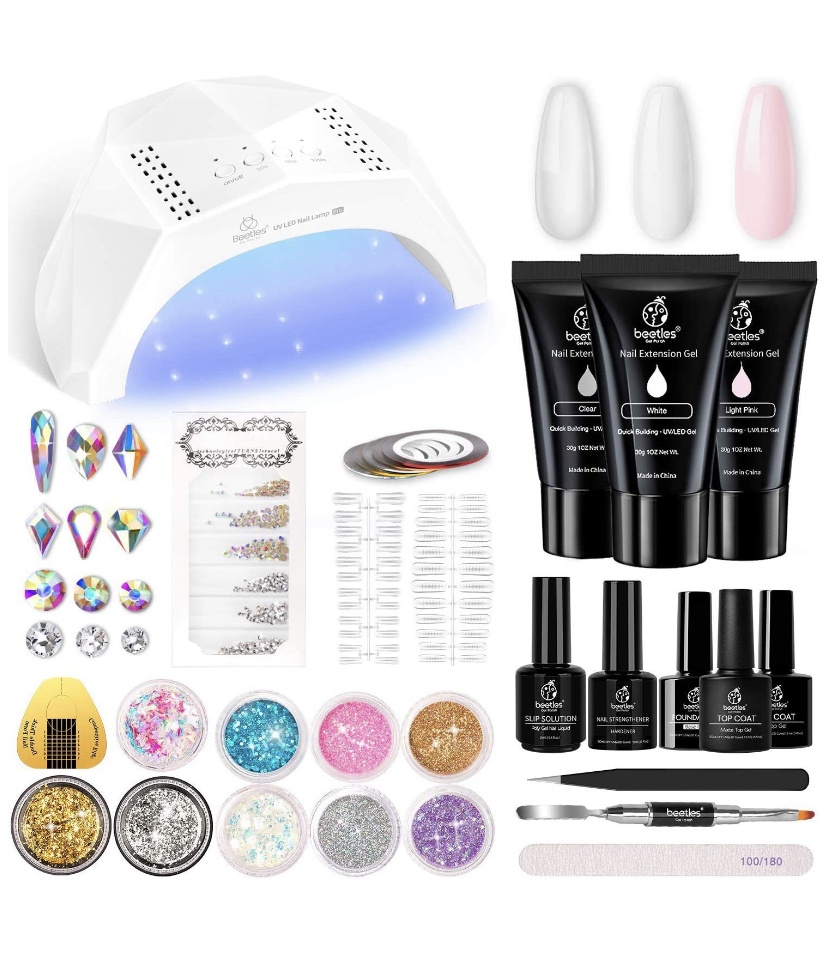
What’s inside:
- 48W nail lamp
- 6 Colors
- 10ml Base/Top Coat
- Slip Solution
- Paper Forms
- Dual Forms
- Glitter and Gems
- Nail Tweezer and File
- Brush and Spatula
5. SXC Poly Extension Gel Nail Kit
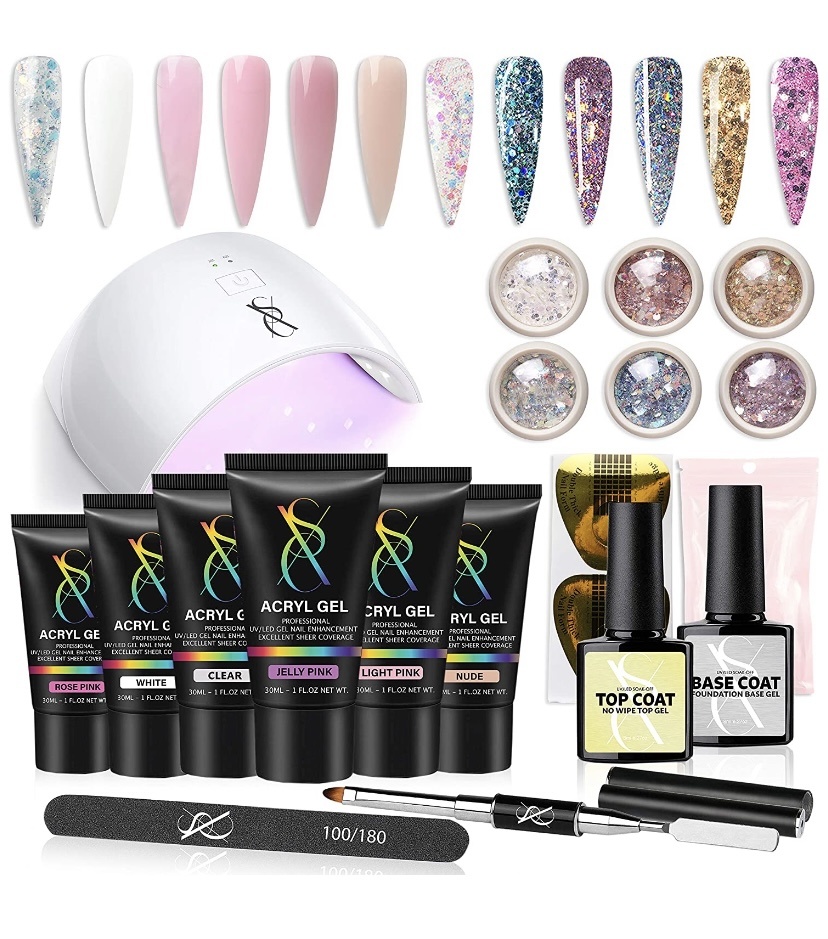
What’s inside
- 24W LED Nail Lamp
- 6 Colors
- 10ml Base/Top Coat
- Glitter
- Dual Forms
- Paper Forms
- Nail File
- Brush and Spatula
What’s missing:
- Slip Solution
Takeaways
Overall, I know you will enjoy using these kits because once you get used to applying PolyGel you will never have to go to a nail salon again. So, If you decided to give one of these kits a try, then comment below how the whole process went for you and show off your hard work by showing us a picture.

